
Changing your photos shouldn’t be a struggle. Editing software offers powerful tools for speeding up your creative workflow. Using pre-made changes helps with getting a consistent look across all your images fast.
Finding the right assets is the first step toward professional results. You can visit lpresets.com for a wide variety of high-quality styles for your creative projects. A complete manual really helps explain the best ways for setting them up.
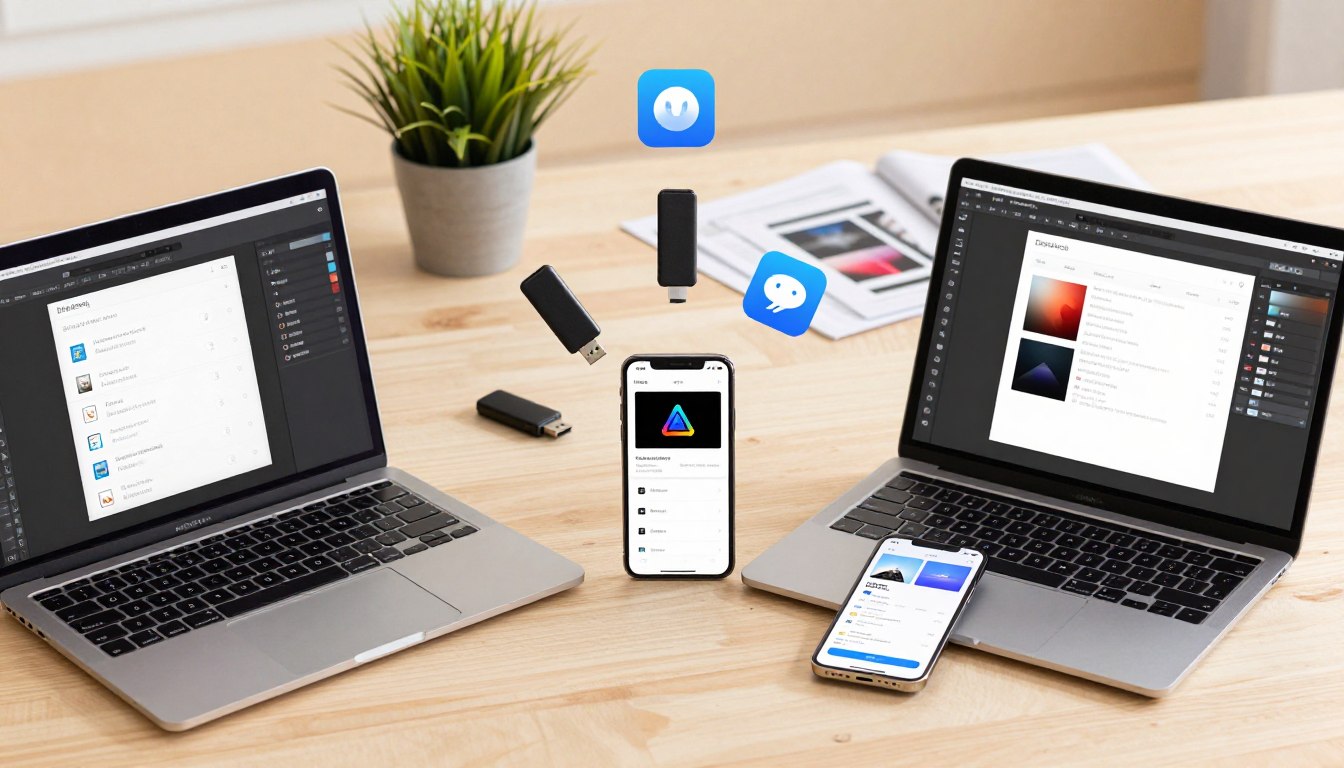
Many creators use various platforms for their editing needs. Whether you use a desktop or a phone, the process remains easy. Our detailed manual provides the steps you need for success.
Key Takeaways
- Get premium filters from lpresets.com.
- Sync your creative assets across multiple platforms.
- Improve your photo editing speed and consistency.
- Simple setup for mobile and computer systems.
- Access professional tools for better photography.
- Save time with batch editing adjustments.
- Maintain a professional brand across social media.
Understanding Lightroom Preset Types and Compatibility
Before diving into the installation process, it’s crucial to understand the different types of Lightroom presets and their compatibility. Lightroom presets are available in two primary formats: XMP and DNG, each with its own set of characteristics and uses.
XMP Preset Files Explained
XMP preset files are the most common type of preset used in Lightroom. They are compatible with both Lightroom Classic and Lightroom CC. XMP presets are essentially a set of instructions that tell Lightroom how to process an image. They are easy to install and manage, making them a favorite among photographers.
One of the key benefits of XMP presets is their flexibility. They can be easily imported and exported, allowing users to share their favorite looks with others. Additionally, XMP presets are compatible with a wide range of Lightroom versions, making them a versatile choice.
DNG Preset Files and When to Use Them
DNG preset files, on the other hand, are used specifically in Lightroom CC and are not compatible with Lightroom Classic. DNG presets are embedded directly into the DNG file format, which is Adobe’s raw image file format. This makes DNG presets ideal for users who work primarily with Lightroom CC and want to ensure consistent edits across their mobile and desktop devices.
DNG presets offer a streamlined editing experience, especially when working with raw images. They simplify the process of applying edits and ensure that the same look is applied across different devices.
Lightroom Classic vs Lightroom CC: What You Need to Know
Understanding the difference between Lightroom Classic and Lightroom CC is crucial for choosing the right preset type. Lightroom Classic is a more traditional, desktop-based editing software, while Lightroom CC is part of Adobe’s Creative Cloud suite, offering cloud-based editing and syncing capabilities.
When choosing between XMP and DNG presets, consider the version of Lightroom you use most frequently. If you’re a Lightroom Classic user, XMP presets are the way to go. For Lightroom CC users, DNG presets offer a more integrated editing experience.
Downloading Presets from lpresets.com
lpresets.com offers a wide variety of Lightroom presets for download, catering to different tastes and editing styles. To download presets from lpresets.com, simply browse through their collection, select the presets you like, and follow the download instructions.
Once downloaded, you can install the presets according to the instructions provided in the following sections. lpresets.com offers both XMP and DNG presets, ensuring compatibility with various Lightroom versions.
Installing Lightroom Presets on Desktop Computers
Desktop users can easily install Lightroom presets to achieve consistent and professional-looking edits. This process enhances your photo editing workflow by allowing you to apply complex adjustments with a single click.
How to Install Presets in Lightroom Classic (Windows and Mac)
To install presets in Lightroom Classic, follow these straightforward steps:
Step 1: Download and Extract Your Preset Files
First, download your desired presets from a trusted source. Most presets come in a compressed format (ZIP or RAR), so you’ll need to extract them using a file extraction tool.
Step 2: Launch Lightroom Classic and Open the Develop Module
Open Lightroom Classic and navigate to the Develop module, where you’ll be able to access the Presets panel.
Step 3: Access the Presets Panel
In the Develop module, locate the Presets panel on the left side of the screen. This panel displays all your available presets.
Step 4: Click the Plus Icon and Select Import Presets
Click the plus icon at the top of the Presets panel and select “Import Presets” from the dropdown menu.
Step 5: Navigate to Your XMP Files and Import
Navigate to the location where you extracted your preset files (XMP format) and select them for import.
Step 6: Organize Presets into Folders
After importing, organize your presets into folders for easier access. This step is crucial for maintaining a streamlined workflow.
| Step | Description |
|---|---|
| 1 | Download and extract preset files |
| 2 | Launch Lightroom Classic and open the Develop module |
| 3 | Access the Presets panel |
| 4 | Click the plus icon and select Import Presets |
| 5 | Navigate to your XMP files and import |
| 6 | Organize presets into folders |
How to Install Presets in Lightroom CC Desktop
Installing presets in Lightroom CC is similarly straightforward:
Step 1: Open Lightroom CC and Access Edit Mode
Start by opening Lightroom CC and switching to Edit mode.
Step 2: Open the Presets Panel
Locate the Presets panel, typically found on the right side of the Edit mode interface.
Step 3: Use the Three-Dot Menu to Import Presets
Click the three-dot menu at the top of the Presets panel and choose “Import Presets.”
Step 4: Select and Import Your Preset Files
Navigate to your preset files and select them for import into Lightroom CC.
By following these steps, you can easily install and manage Lightroom presets on your desktop computer, enhancing your photo editing capabilities.
How to Install Lightroom Presets on Every Device: Mobile Installation Guide
Installing Lightroom presets on mobile devices opens up a world of creative possibilities for photographers on the go. With the increasing quality of smartphone cameras, mobile photography has become a significant aspect of the photography world. Lightroom presets can enhance your mobile photos instantly, giving them a professional touch.
Installing XMP Presets on iPhone and iPad
To install XMP presets on your iPhone or iPad, follow these steps:
Step 1: Transfer Files Using AirDrop, iCloud, or Email
First, you need to transfer the XMP preset files to your iOS device. You can use AirDrop for a quick transfer between Apple devices, iCloud Drive for cloud storage access, or simply email the files to yourself.
Step 2: Save Files to Your iPhone or iPad
Once the files are transferred, ensure they are saved locally on your device. You can use the ‘Files’ app to manage and store your XMP preset files.
Step 3: Open Lightroom Mobile App
Open the Lightroom mobile app on your iPhone or iPad. If you haven’t installed it yet, you can download it from the App Store.
Step 4: Navigate to Presets Section
Within the Lightroom app, navigate to the ‘Presets’ section. This is usually found in the editing view, represented by a tab or button labeled ‘Presets’.
Step 5: Import Presets Using the Three-Dot Menu
To import your XMP presets, go to the ‘Presets’ panel, tap the three-dot menu (⋯), and select ‘Import Presets’. Then, choose the XMP files you saved earlier.

Installing XMP Presets on Android Devices
Android users can also enjoy the benefits of Lightroom presets. Here’s how to install XMP presets on Android devices:
Step 1: Download Preset Files to Your Android Device
Start by downloading the XMP preset files directly to your Android device. You can do this via a web browser or by transferring them from another device.
Step 2: Locate Files in Your Downloads Folder
Typically, downloaded files are saved in the ‘Downloads’ folder. Use your device’s file manager to locate the XMP files.
Step 3: Import Through Lightroom Mobile App
Open the Lightroom mobile app, go to the ‘Presets’ section, tap the three-dot menu, and select ‘Import Presets’. Navigate to the location of your XMP files and select them for import.
Installing DNG Presets on Mobile (iOS and Android)
DNG presets are another format you might encounter. Installing them on mobile devices involves a slightly different process:
Step 1: Download DNG Files to Your Mobile Device
First, download the DNG preset files to your device. This can be done through a browser or by transferring them from another device.
Step 2: Add DNG Files to Lightroom as Images
Open the Lightroom app and add the DNG files as if they were regular images. This involves importing them into your Lightroom library.
Step 3: Open a DNG File and Access Settings
Select a DNG file you’ve imported, and access its editing settings. The adjustments applied to this DNG file will serve as the basis for your new preset.
Step 4: Create a User Preset from the DNG File
With the DNG file open, adjust the settings as desired. Then, go to the ‘Presets’ panel and choose ‘Create Preset’ to save the current adjustments as a new preset.
Step 5: Name and Save Your Preset
Name your new preset and save it. It will now be available in your ‘User Presets’ section for application to other photos.
Step 6: Repeat for All DNG Presets
Repeat this process for each DNG preset you want to install.
| Preset Type | Device | Installation Steps |
|---|---|---|
| XMP | iOS | Transfer files, save locally, import via Lightroom app |
| XMP | Android | Download files, locate in Downloads, import via Lightroom app |
| DNG | Both | Download DNG, add to Lightroom, create preset from DNG adjustments |
Syncing and Managing Presets Across Multiple Devices
With Adobe Creative Cloud, syncing Lightroom presets between devices becomes a straightforward process. This capability ensures that your editing style remains consistent across all your projects, regardless of where you’re working from.
Setting Up Adobe Creative Cloud Sync
To start syncing your Lightroom presets, you first need to set up Adobe Creative Cloud on your devices. Begin by downloading and installing the Creative Cloud app on your desktop and mobile devices. Once installed, sign in with your Adobe ID to link all your devices.
Key steps to set up Creative Cloud sync:
- Download and install the Creative Cloud app.
- Sign in with your Adobe ID on all devices.
- Ensure that Lightroom is configured to sync with Creative Cloud.
Automatic Preset Syncing Between Desktop and Mobile
After setting up Creative Cloud, your Lightroom presets will automatically sync between your desktop and mobile devices. This feature is particularly useful for photographers who edit on the go.
Automatic syncing benefits:
- Consistency in editing style across devices.
- Access to your presets from any device.
- Reduced need for manual preset transfer.

Verifying Presets Appear on All Devices
To ensure that your presets have synced correctly, open Lightroom on each device and verify that your presets are available.
Verification steps:
- Open Lightroom on your desktop.
- Check the Develop module for your presets.
- Repeat the process on your mobile device.
Organizing Presets into Custom Groups
As your collection of presets grows, organizing them into custom groups can improve your workflow. You can create groups based on the type of edit or the project you’re working on.
| Preset Group | Description | Use Case |
|---|---|---|
| Black and White | Presets for monochrome edits. | Portrait and landscape photography. |
| Color Grading | Presets for adjusting color tones. | Enhancing mood in photos. |
| Portrait | Presets tailored for portrait editing. | Skin tone adjustments and retouching. |
Common Syncing Issues and Solutions
While Creative Cloud syncing is generally reliable, issues can arise. Common problems include presets not appearing on all devices or syncing taking longer than expected.
Troubleshooting tips:
- Check your internet connection.
- Ensure you’re signed in with the same Adobe ID on all devices.
- Restart the Creative Cloud app and Lightroom.
Getting Started with Your Newly Installed Presets
Now that you’ve successfully installed Lightroom presets on every device, it’s time to start using them to enhance your photos. To apply a preset, simply select the desired image in Lightroom, navigate to the Develop module, and click on the preset you want to use.
Experimenting with different preset combinations can help you achieve unique and captivating looks. Try combining presets to create a personalized style that suits your photography needs. Don’t be afraid to adjust the preset settings to fine-tune the look and feel of your images.
By following this comprehensive Lightroom presets guide, you’ve learned how to install Lightroom presets on every device and manage them across multiple platforms. With your newly installed presets, you can now streamline your editing workflow and give your photos a professional touch.
FAQ
Where is the best place to find high-quality presets and learn how to install lightroom presets on every device?
What is the main difference between XMP and DNG files for lightroom presets installation?
How can I ensure lightroom presets compatibility with my specific version of Adobe software?
Do I need a computer for a mobile lightroom presets setup?
Will my lightroom presets desktop folders automatically sync to my mobile app?
How do I organize my library after following a lightroom presets tutorial?
What should I do if my presets do not appear after a lightroom presets installation?
Where to Go After Installation
Once your presets are installed, the easiest next step is choosing the right collection for your workflow. Browse our free Lightroom presets to test styles, compare broader Lightroom preset bundles, or jump into niche pages like car Lightroom presets and wedding Lightroom presets.
Related guides
- Lightroom Presets: A Comprehensive Guide
- How to Use 2 or More Presets on One Photo
- Lightroom Classic Presets Guide

