
Getting the color of a person’s complexion right is one of the trickiest parts of photo editing. When the lighting is off or the white balance isn’t set correctly, the results can look unnatural. This is especially true for portraits and wedding photography, where beautiful, natural-looking results are essential.
Lighter complexions present a unique challenge. They can easily appear washed out, too pink, or strangely cool in pictures. Generic editing tools often fail here, adding unwanted warmth that turns skin orange or a cool cast that looks gray.
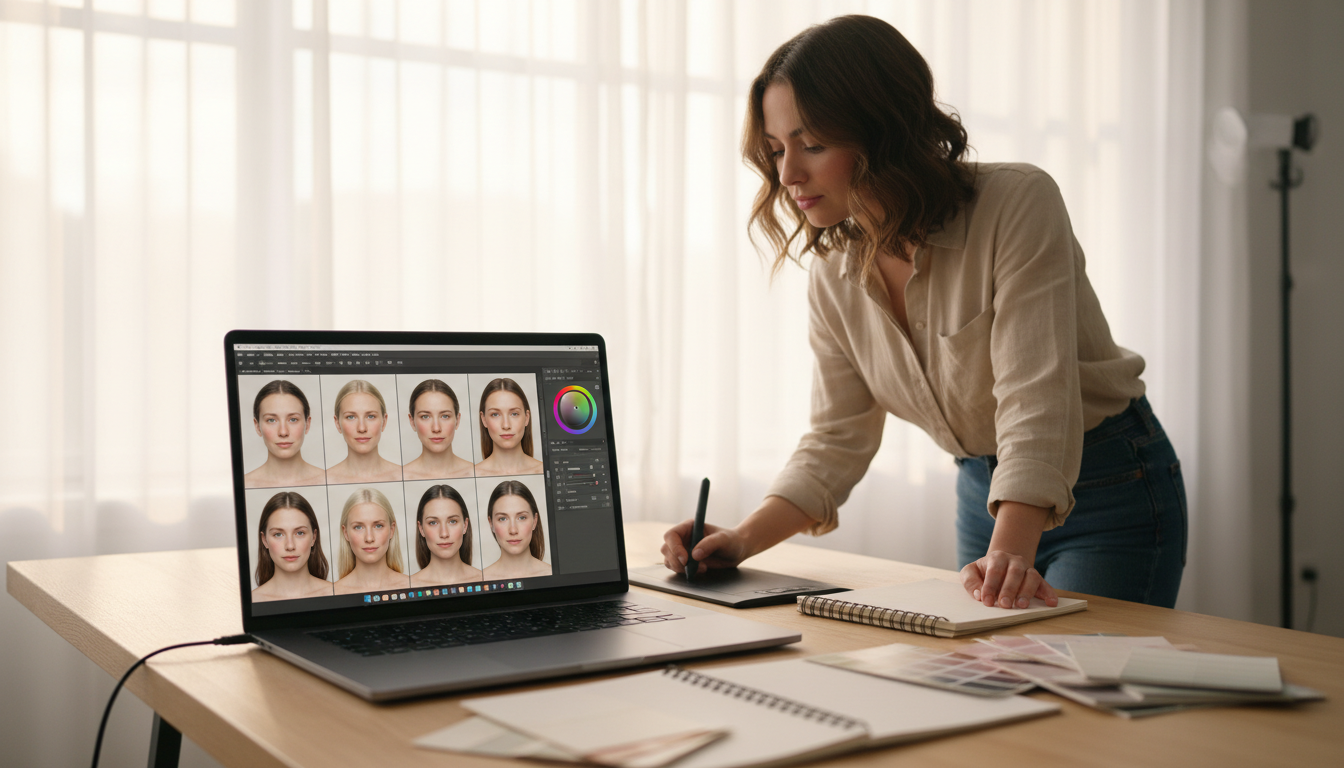
Starting with a properly designed toolset is the key to a faster, more consistent workflow. Resources like lpresets.com offer collections calibrated specifically for these delicate complexions. This provides a strong foundation, eliminating color issues from the start.
This guide will show you a practical approach. You’ll learn how to enhance lighter skin while preserving its subtle undertones and dimension. The goal is to achieve professional, flattering results every time.
Key Takeaways
- Accurate skin color is critical for professional portrait and wedding photography.
- Pale complexions are easily affected by color casts and can lose detail.
- Standard presets often create unflattering orange or gray tones on light skin.
- Using presets made for lighter skin provides a consistent and correct starting point.
- A proper editing workflow preserves the delicate balance of natural undertones.
- Mastering this skill elevates your overall photo quality and saves time.
Understanding the Importance of Natural Skin Tones in Portraits
Achieving lifelike skin color in portraits hinges on mastering two fundamental technical aspects. These are white balance and exposure. They form the non-negotiable foundation for any successful edit.
Why Accurate White Balance and Exposure Matters
Even a slight color temperature shift can make lighter complexions look sickly. Proper exposure prevents highlights from blowing out and keeps texture intact. You must correct these first before adjusting specific color values.
Use the White Balance Dropper on a neutral gray area in your shot. Adjust the Exposure slider for overall brightness. Fine-tune with Highlights and Shadows for a balanced look.
| Aspect | Impact on Pale Skin | Correction Tool |
|---|---|---|
| White Balance | Causes green, pink, or yellow casts | White Balance Dropper, Temp/Tint sliders |
| Exposure | Blows out highlights or creates muddiness | Exposure, Highlights, Shadows sliders |
| Combined Effect | Loss of detail and unnatural color | Systematic correction workflow |
The Role of Skin Tone Accuracy in Professional Portraits
Clients expect to see themselves represented truthfully. Off-color skin undermines a photographer’s credibility. It can affect business reputation and future referrals.
Using resources like lpresets.com helps. Their tools are tested across various lighting conditions. This ensures natural skin tones appear consistent in any environment, from golden hour to mixed indoor light.
Step-by-Step Guide to Starting with a Balanced Preset
To save time and ensure quality, begin your edit with a professionally tested foundation. A balanced starting point eliminates guesswork. It provides a neutral canvas for your adjustments.
Getting Started with lpresets.com
Visit the site to find curated collections. Look for descriptors like “natural” or “true-to-life.” These indicate editing tools that won’t distort delicate complexions.
Add a suitable preset bundle to your cart. These collections are tested across fair skin in diverse scenarios. This guarantees a reliable starting point for your photos.

Preset Calibration for Various Lighting Conditions
Calibration is key because light changes everything. A preset made for window light differs from one for golden hour.
Options like “Natural Light” or “Airy Film” are pre-tuned for specific environments. If the applied look feels too strong, use the Preset Amount slider. Reducing intensity to 70-80% keeps the mood but brings back original tones.
This approach maintains the delicate balance needed for flattering results in any light.
Mastering Lightroom Preset for Pale Skin Tones
The real artistry in portrait editing emerges during the fine-tuning phase. Subtle adjustments make the difference between good and great. Starting with a quality foundation from a source like lpresets.com gives you a correct baseline.
This means you only need minor tweaks to achieve perfection.
Fine-Tuning Temperature and Tint for Optimal Skin Color
Even the best starting point might need a slight nudge. The Temperature slider controls yellow and blue. If a complexion looks too warm or orange, move it slightly cooler.
The Tint slider manages green and magenta. Use it to neutralize excessive pink or correct a dull green cast. These two sliders work as a team.
Small shifts of just five to ten points are often ideal. The goal is a natural, neutral balance.
Leveraging the HSL Panel to Refine Skin Tones
For surgical precision, use the HSL panel. It lets you modify specific colors without affecting the whole image. This is key for delicate complexions.
Focus on the Orange sliders, as they control most skin colors. Adjust the Hue for a peachy or warmer tone. Reduce Saturation if the skin looks too vibrant.
Increase the Luminance to gently brighten the area. You can also use the targeted adjustment tool. Click directly on the skin and drag to adjust the correct channel automatically.
These targeted adjustments ensure a flawless, natural finish.
Advanced Adjustments: Tone Curve, Exposure, and Mobile Tips
Moving beyond basic sliders unlocks a new level of precision for portrait retouching. These advanced controls let you sculpt light and color with surgical accuracy.
Exploring Tone Curve Techniques to Enhance Skin Detail
The Tone Curve panel is a powerful tool for adding dimension. Lifting the midtones adds a soft luminosity to the complexion.
Lowering the highlights recovers detail in bright areas like the forehead. Gently raising shadows softens harsh contrast under the eyes.
For color correction, use the Targeted Adjustment Tool. Click on a skin area and drag down on the blue curve to remove cold casts.

A subtle nudge on the red curve can then add warmth. This keeps the skin tone looking natural and alive.
Using Exposure Adjustments for a Natural Look
Sometimes a photo needs a slight overall brightness boost. A small exposure increase of 0.1 to 0.3 stops can work wonders.
This is especially helpful for images shot in flat, low light. It makes the skin appear more vibrant without losing texture.
Always exercise restraint with this slider. The goal is to enhance, not overexpose, delicate highlights.
Editing on the Go with Lightroom Mobile’s Color Mixer
Your workflow doesn’t have to stop at the desk. Lightroom Mobile offers robust tools for editing anywhere.
Navigate to Color > Mix to access the HSL controls. Here, you can refine orange tones specifically.
Adjust the Hue for warmth, Saturation for intensity, and Luminance for softness. This provides the same fine-tuning capability as the desktop version.
Presets from lpresets.com work seamlessly across both platforms. This ensures a consistent adjustment workflow whether you’re on a computer or a phone.
Final Thoughts and Next Steps for Flawless Portraits
Ultimately, the mark of professional portrait work is a gallery where every subject looks authentically themselves. This clarity comes from combining the right foundational tools with the technical knowledge you’ve gained.
Investing in quality presets designed for specific complexions saves immense time. It ensures consistency across all your portraits, turning a frustrating process into an efficient one.
Explore the curated collections at lpresets.com. Find a preset bundle that matches your style, add it to your cart, and apply it to your photos. With minor tweaks, you’ll achieve a natural look and perfect skin every time.
This streamlined approach transforms your editing workflow. You gain confidence and deliver beautiful, consistent results that clients love.

