
Lightroom Mobile is one of the fastest ways to edit car photos when you want a strong result without sitting at a desktop. The catch is that automotive photography is less forgiving than most subjects. Reflections, metallic paint, chrome trim, and mixed lighting can turn a quick mobile edit into a muddy mess if you apply the wrong preset or overdo contrast.
This guide walks through a simple Lightroom Mobile workflow for car photography so you can get cleaner edits, better paint detail, and a stronger final look whether you shoot on an iPhone, Android, or mirrorless camera and transfer the file to your phone.
Start With the Right Photo
Lightroom Mobile works best when the original file gives you room to recover highlights and shadows. RAW is ideal, but even JPEG car photos can look much better if the image is not clipped beyond repair.
- use photos with visible detail in the hood, roof, and wheel arches
- avoid frames where reflections are completely blown out
- pick shots with clear body lines and separation from the background
Step 1: Fix Exposure Before You Touch Color
Most car edits go wrong because the preset is doing all the work. On mobile, start by balancing the photo first.
- lower highlights if sky reflections are too strong
- lift shadows enough to keep the paint readable
- adjust whites carefully so chrome and headlights do not clip
- set blacks based on the style you want, not by default
If the car is black, dark blue, or graphite, be more conservative with contrast than you think. Those paint colors lose detail quickly on small mobile screens.
Step 2: Correct White Balance for Paint and Reflections
Cars pick up color from the environment faster than portraits or interiors. A red wall, green trees, or warm sunset can shift the body panels more than expected. Lightroom Mobile gives you enough control to fix this without making the car look sterile.
Use the temperature and tint sliders first. Then check whether the neutral parts of the car still feel believable. Silver, white, and black vehicles are the easiest way to spot a color cast. If they look off, the rest of the photo is probably off too.
Step 3: Apply a Preset That Matches the Scene
Not every automotive preset belongs on every car photo. The fastest way to improve your Lightroom Mobile results is to match the preset to the scene.
- golden hour: warm cinematic or soft moody presets
- urban or parking garage: contrast-heavy cinematic presets
- night scenes: presets built for artificial light and deeper shadows
- clean commercial images: neutral presets with restrained color grading
If you want the widest range of looks in one place, start with the car Lightroom presets hub or test broader styles from the main Lightroom preset bundles.
Step 4: Tame Reflections and Hot Spots
On mobile, highlights and reflections are usually the difference between an amateur edit and a polished one. Reflections on the hood and windshield are normal, but they should not overpower the car itself.
- reduce highlights before you add extra texture
- use selective masking if one body panel is much brighter than the rest
- avoid over-sharpening the whole image, especially if the file is noisy
Step 5: Add Detail Without Making the Car Look Crunchy
Texture and clarity can help wheels, grilles, and body edges stand out, but it is easy to go too far on mobile. When that happens, the paint loses its premium finish and starts to look rough.
A better approach is to use a smaller amount of texture globally, then add local masking if the grille, headlights, or badge need more presence.
Step 6: Crop for Shape and Presence
Car photos often improve more from framing than from extra color work. In Lightroom Mobile, take a few seconds to tighten the crop and remove distractions at the edges. A stronger crop can make the preset look better because the composition is doing more of the work.
- straighten the horizon first
- watch verticals if the background includes buildings
- leave enough room around the front of the car for direction and movement
When Lightroom Mobile Is Better Than Desktop
Mobile is not always a compromise. It is genuinely useful when you want to:
- edit and publish quickly for Instagram or reels
- test several preset looks while on location
- keep a consistent car-photo style without a long desktop session
Desktop still wins for complex masking and finer color control, but for a large percentage of social-first car content, Lightroom Mobile is more than enough.
Best Preset Types for Lightroom Mobile Car Editing
If you are building a mobile workflow, focus on presets that include DNG files and match real automotive use cases. The best starting options are:
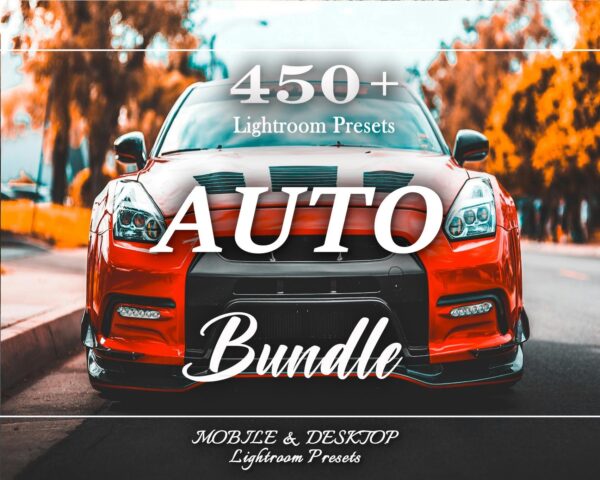 Recommended Preset450+ Car Lightroom Presets BundleView Preset
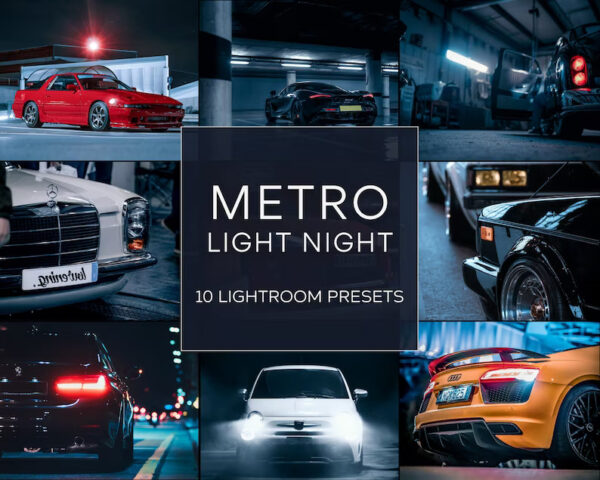 Recommended PresetMetro Night Car Lightroom PresetsView Preset
 Recommended PresetBlack Car Lightroom PresetsView Preset
Recommended Car Presets for Mobile Editing
Recommended Preset450+ Car Lightroom Presets Bundle — Cinematic Automotive PackView PresetRecommended PresetMetro Night Car Lightroom Presets — Desktop & MobileView PresetRecommended PresetBlack Car Lightroom Presets — Mobile & DesktopView PresetFrequently Asked Questions About Editing Car Photos in Lightroom Mobile
Can Lightroom Mobile handle car photography well?
Yes. It works especially well for social content, quick edits, and preset-based workflows.
Should I edit car photos with presets first or by hand first?
Balance exposure and white balance first, then apply the preset that best matches the scene.
Do DNG presets work better on mobile?
Yes. DNG presets are the practical format for Lightroom Mobile and are the easiest way to keep a fast editing workflow.

